
Adding Tags to Participants
There are two ways of tagging participants in On.Board:
- Adding additional columns to the csv spreadsheet that is uploaded to import participants in bulk
- Using the multi-action tool to filter participants and apply the 'Add tag' action
1. Adding Tags through Importing Participants in Bulk (spreadsheet upload)
One way of adding participants to your program is through the upload of a csv spreadsheet. The minimum information required to get users onto the platform in this way is by providing their FirstName, LastName and Email address within the spreadsheet. However, you can add additional columns to assign tags to the participants being uploaded (if you know the tags at the time of upload).

Looking at the screenshot above, tags have been given to participants for three tag families (Cohort, Division and EyeColor) which you can see from the column headings. In this example, the first participant Gemma would be given the tags 'Cohort:May', 'Division:CEN', 'EyeColor:Green. Dylan would also receive the tags same Cohort:May and Division tags (May and CEN) but for EyeColor it would be EyeColor:Blue.
You can also use tags to assist you with assigning roles and relationships.
2. Adding Tags through the Multi-Action Tool
An alternative method is to use the multi-action tool to search for your participants and then apply the add tag action to one or more of them.
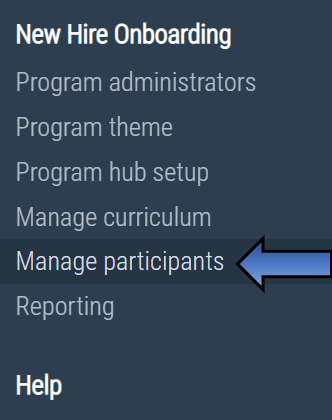
To do this, access the multi-action tool through 'Manage participants'.
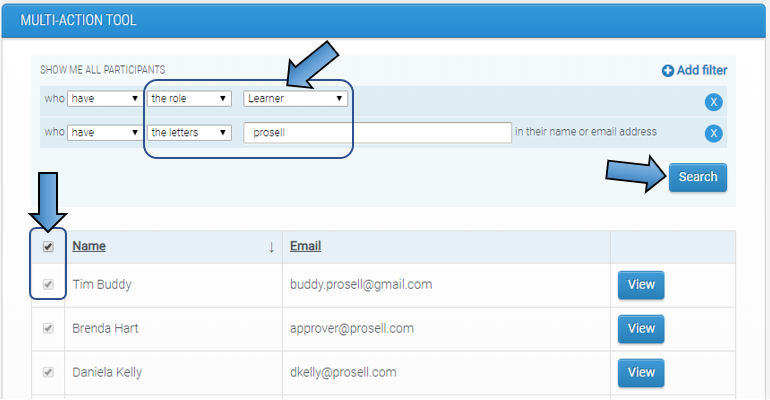
Search for the participants you wish to tag using the various filters available, e.g. names, email addresses, roles, relationships and/or other tags.
After you've applied the filters (if any), click the 'Search' button to bring up the relevant participants. You can then select either all or some using the checkboxes.
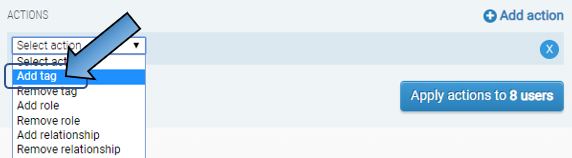
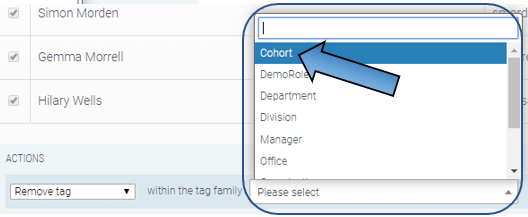
Beneath this in the 'Actions' box, pull down the 'Select action' drop down menu and select 'Add tag'.
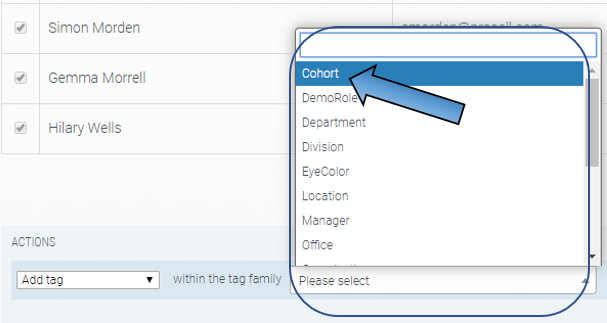
This will make a 'Please select' drop down appear to the immediate right where you need to first select the tag family (please note you can only use existing tag families here, which need to be created through the spreadsheet upload - see method 1 outlined above).
Then, select the tag within the tag family:
- to add a new tag, simply type your chosen tag name in the 'Please select' drop down
- to assign an existing tag, type the first few letters of its name, wait for it to appear and then select it

You will then get a summary of the tag that will be added to the selected participants. For example, if the family 'Cohort' and the tag 'May' was entered, participants would get the tag 'Cohort:May'. Click 'Apply' to confirm the action or add another action before applying.

The main reason we have made it compulsory for each tag to be structured in two parts (Tag family:Tag) is because tags determine the grouping for social activities.
This has only been the case, however, since September 2019 following the 'social' features being introduced. Therefore, you may already have tags assigned to your participants that were not given a tag family, for example 'London' rather than 'Location:London'.
When the changes were made to the tag structure, all tags that did not have a tag family were automatically given the family 'other'. So in the example just given, the tag would be changed to 'other:London'.

Removing Tags from Participants
To remove tags from participants, you would follow the same steps as outlined above to search and select participants in the multi-action tool, and then select the 'Remove tag' action in the drop-down box.

You would then select the tag family and tag that you are wanting to remove from the selected participants.

Changing Participant Tags
It might be the case that you want to change a tag that you have previously assigned to one or more participants. The only way of doing this is by using the multi-action tool to search for the participants with this tag, then add the new tag and remove the existing one. Here's an example outlining how this can be carried out:
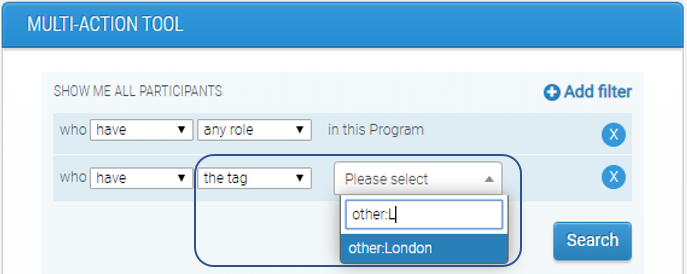
1. Add a filter to show all participants with the tag you wish to remove, e.g. 'other:London'
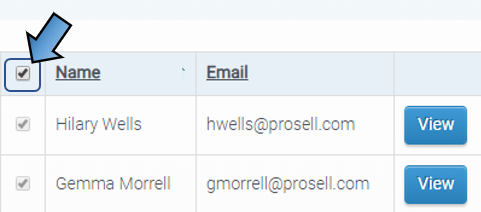
2. Select the participants you wish to apply the action to (use the top checkbox to select all participants listed)
3. Once the participants are selected, go to the 'Actions' box at the bottom of the page. Select 'Add tag' in the first drop-down and then the tag family and tag you're wanting to add (1). Then, click 'Add action' to the top right of this (2).
In the new drop-down that appears, select 'Remove tag' and then type in the box that appears to the right the tag you are removing (3). Click 'Apply' to confirm the actions (4).

It's important that you apply both actions at the same time, because if you apply the 'Remove' action first then the selected participants will disappear from the list as the search filter will not longer apply as the tag has been removed.
Comments
0 comments
Please sign in to leave a comment.