
This article covers how to add participants to your program:
- Manually entering their details one by one
- Importing in bulk through a populated csv spreadsheet
Questions answered in this article:
1. What are the different ways in which I can add participants to my programs and how do I know which method to use?
2. How does the participant know they have been added to a program?
3. Can I put participant details into the system ahead of launching?
Prerequisites
Before you add your participants and launch your program, make sure you have set up the role and relationship types and completed the curriculum build.
How to Add Participants
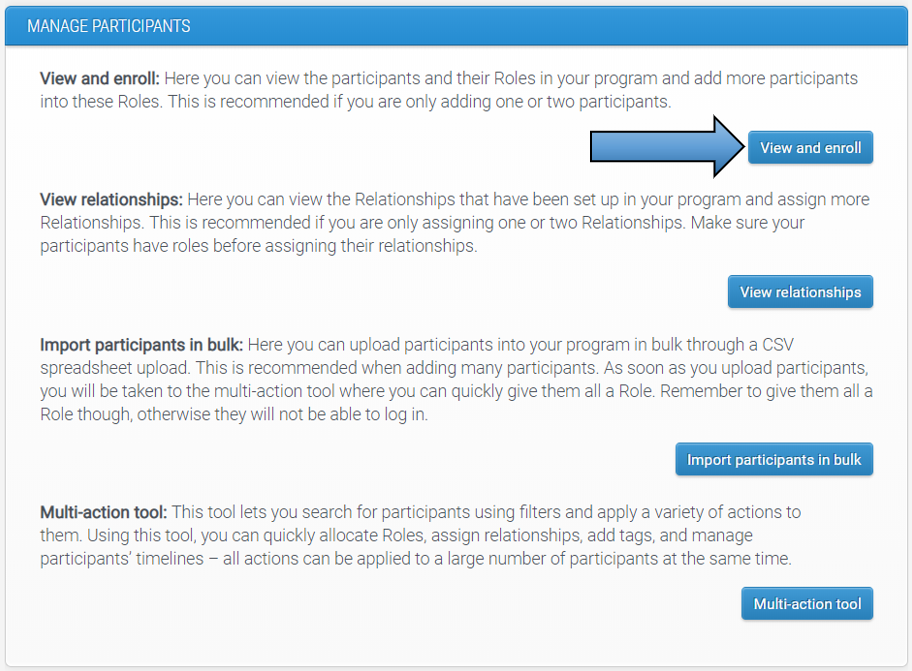
When you are ready to enroll participants, go to the option 'Manage participants' on the left-hand navigation menu.

There are two ways that you can enroll participants into your program...
Method 1: Adding Participants One at a Time
The preferred method if you are adding just one or two participants.
Through ‘View and enroll’, participants are added directly into a role by entering their first name, last name and email address.
In the 'View and enroll' page you will see the different role types set up for your program and have the option to add participants into these roles. Once participants are added, you can visit this page to get an overview of each role - who and how many are in each role.
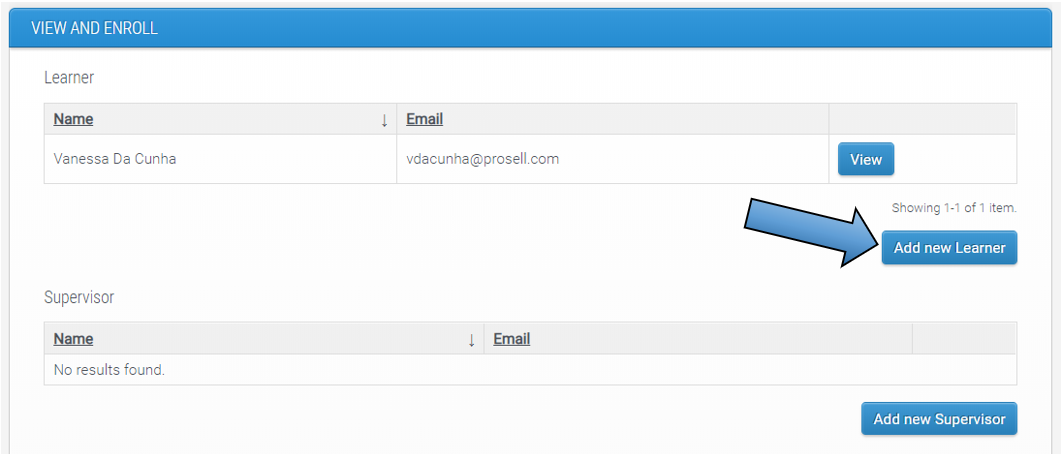

The minimum information required to enroll a participant is their First Name, Last Name and Email. After saving this information, you will see the participant listed within the selected role and this means they have been sent the welcome email from the system containing the link to set their password.
Once you have added a participant through this method, further actions such as adding tags can be applied through the multi-action tool.
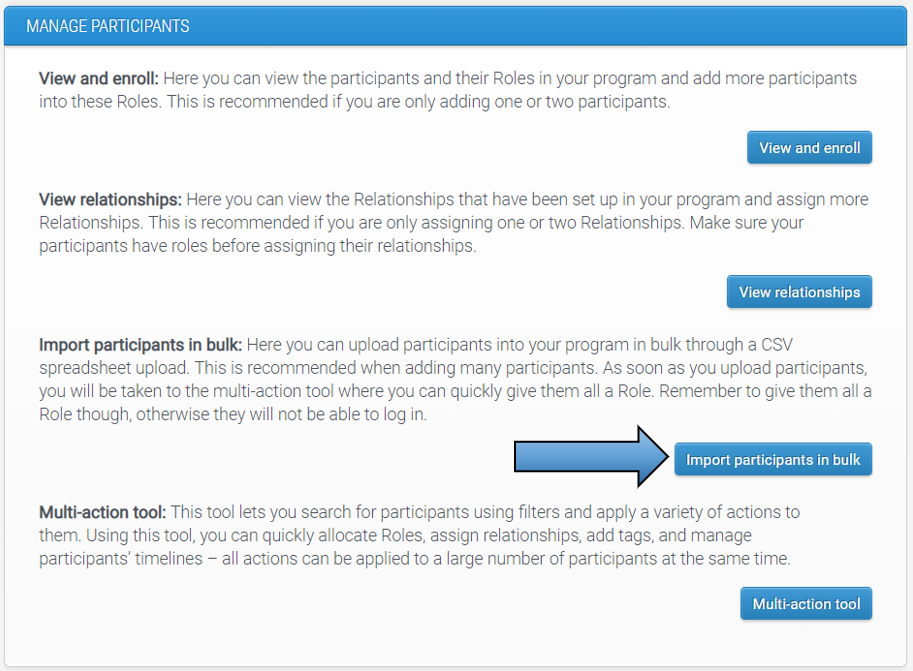
Method 2: Importing Participants in Bulk using Spreadsheet Upload
If you have a group of participants, then an easier and faster method for enrollment would be to import them through the option ‘Import participants in bulk’, which involves the upload of a csv spreadsheet containing the participant details.
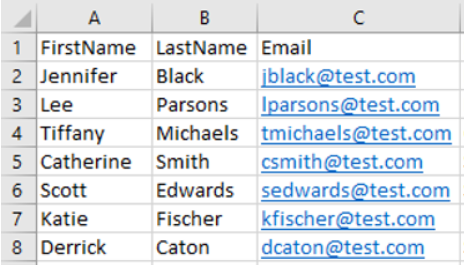
On the import page, you will be given instructions for the upload and from here you can download a template that has the mandatory headings already populated and that is in the correct format (CSV - comma delimited).
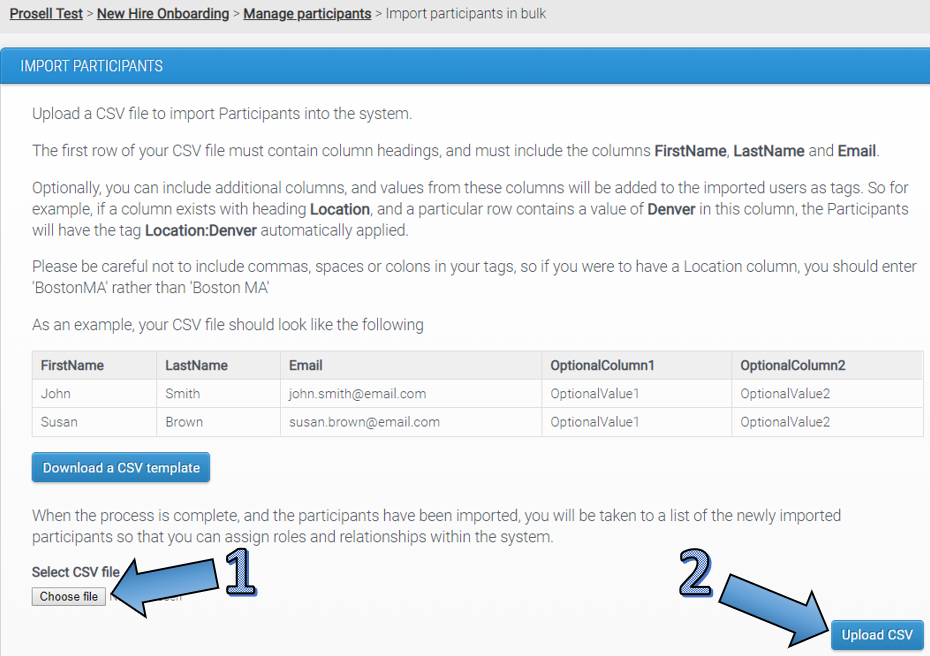
As a minimum, your spreadsheet should have three columns with the headings ‘FirstName’, ‘LastName’ and ‘Email’ (the template will already have these in place for you). Tags can be entered in additional columns - with the tag family as the column heading and then the tags listed below. You can find more information in the articles on what tags are and how they can be used to assist with allocating roles.
If the upload has been successful, these participants will be registered on the system and ready to be allocated a role in your program. The spreadsheet upload itself does not give them a role and so this action needs to be completed afterwards using the multi-action tool. It is only once participants are given a role that they receive an email from the system containing the link to set their password.
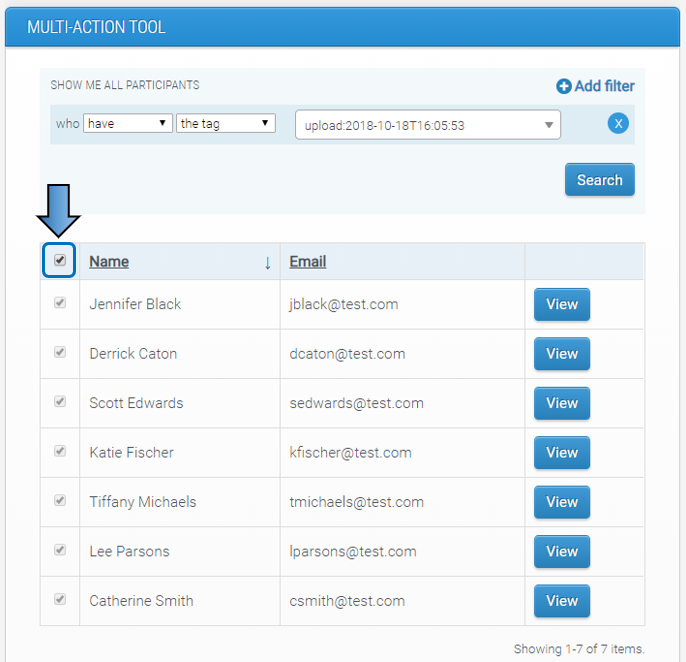
Once the upload is complete, you will be taken to the multi-action tool where you can then apply actions to the participants. When participants are uploaded in this way, they are automatically given an 'upload' tag with the time and date of upload and this filter will be applied at the top of the page. Therefore, if you wanted to return to this group at a later date to apply actions then all you'd need to do is open the multi-action tool and add this same filter with the upload tag.

You can then select the participants you're adding the role to (if all of the participants in the spreadsheet are to have the same role, e.g. learner, then you can select them all by clicking the box at the top).
Once the relevant participants have been selected, go to the 'Actions' dropdown box at the bottom of the page and select 'Add role'.
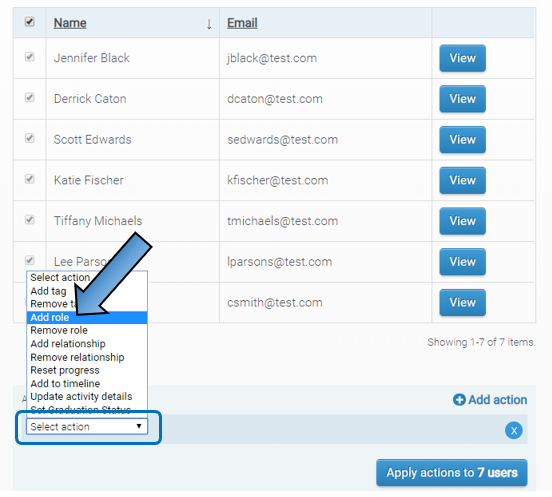
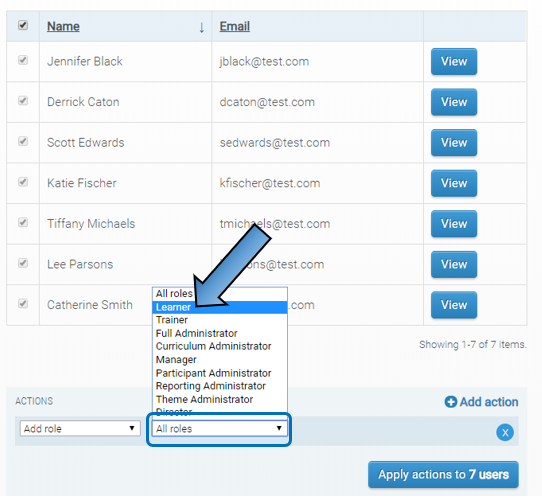
Then, in the second drop-down box that appears you can select the role and click 'Apply' when done.
Comments
0 comments
Please sign in to leave a comment.