
Reason for Change
Administrators were noticing latency when accessing existing forms from the form builder or when linking them to a form activity type. This performance issue was influenced by the number of forms and programs, and so each time the list of forms was loaded for a program, the system had to go through all forms and check their permissions, i.e. whether it should be appearing in that particular program. So, as the number of both forms and programs grew, this operation took longer to process.
Before (old form builder) - forms were created externally through 'Forms' on left-hand side toolbar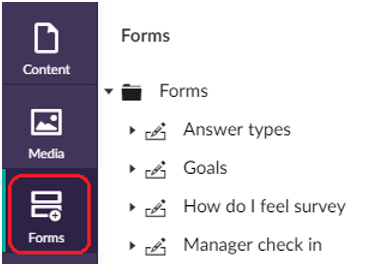
Before (old form builder) - forms linked to an activity through 'Content' on left-hand side toolbar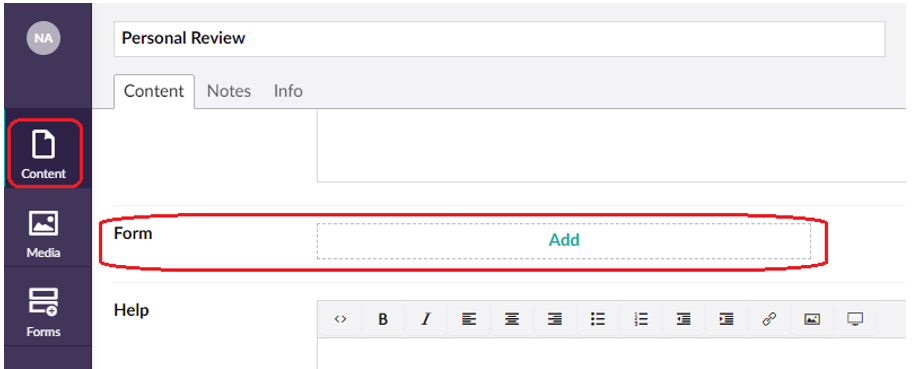
Our Solution
Our solution was to implement a new form builder, which works differently in that the form is built within the activity, in the same way that quiz activities are built. This has eradicated the latency being experienced.
How the New Form Builder Works
When you create an activity within a step, there will now be two options for forms: ‘Form Activity’ and ‘Two Part Form Activity’.
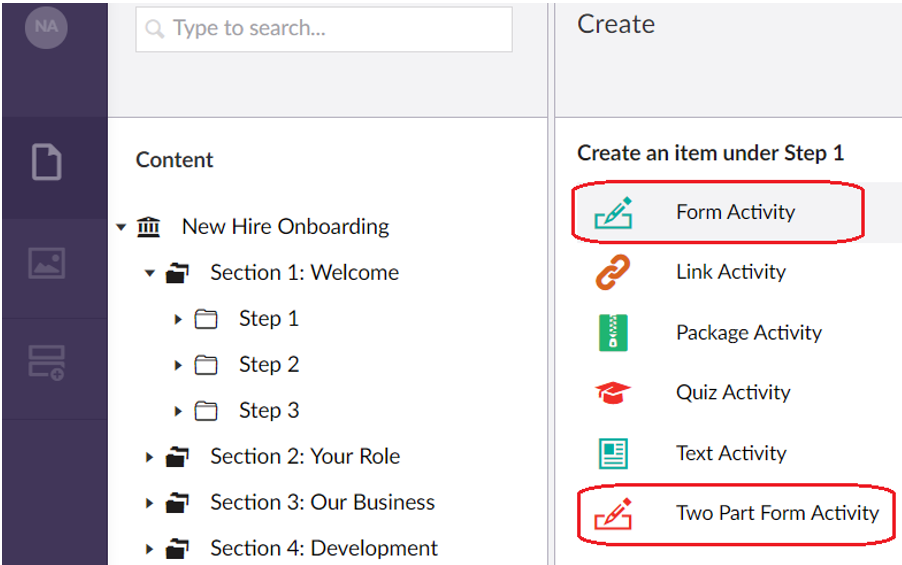
Another difference to the old form builder is that a ‘Two Part Form’ activity now has its own activity type, rather than being the addition of a ‘page’ to the learner form.
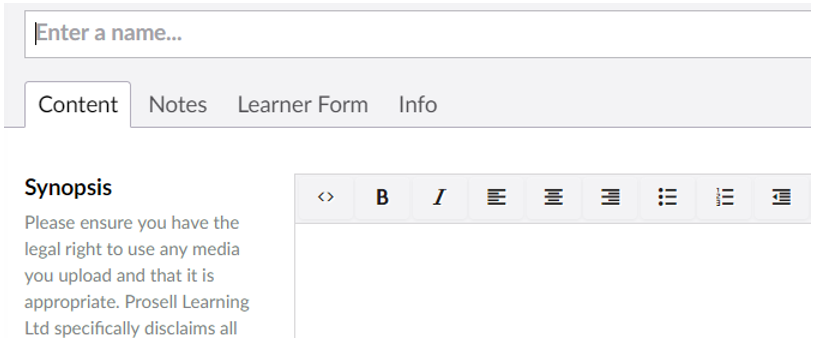
Once you have selected a form activity type, the experience is the same as before in that you are taken to the activity content fields (in the ‘Content’ tab).
To save a form activity, it must have a name and at least one form field. This is to ensure that administrators do not forget to add form fields, which would result in enrolled learners having an empty activity. If you try to save the activity without having done this, you will see a validation error message.

To add fields to your form, select the ‘Learner Form’ tab along the top of the activity.
'Form activity' has a tab for "Learner Form"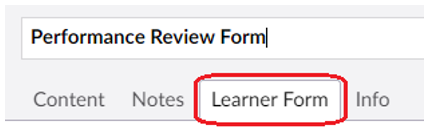
'Two-Part Form Activity' has a tab for "Learner Form" and also "Approver Form"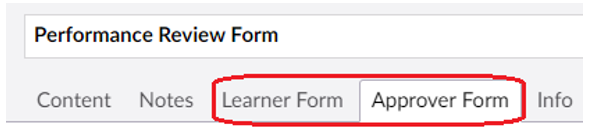
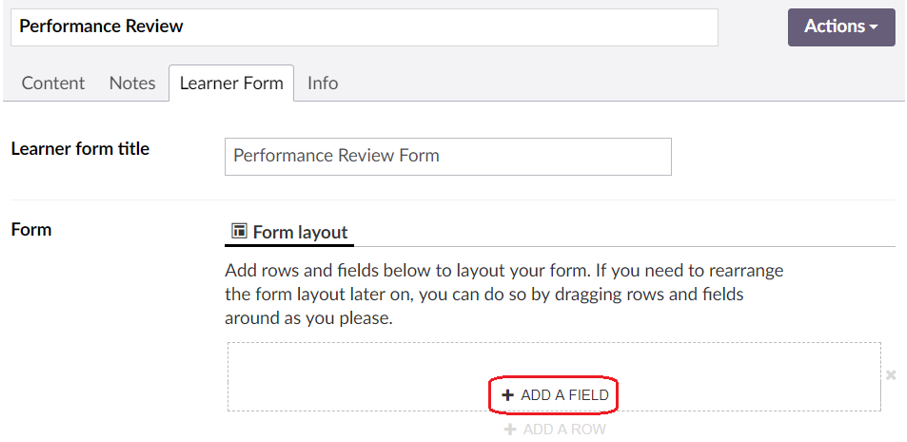
Give the form a title, which will be displayed at the top of the form, and then start adding your fields through ‘Add a field’ beneath ‘Form layout’.
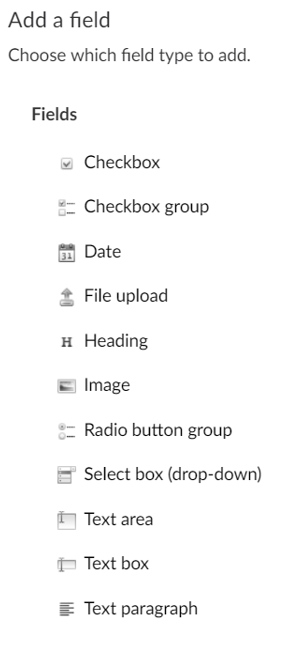
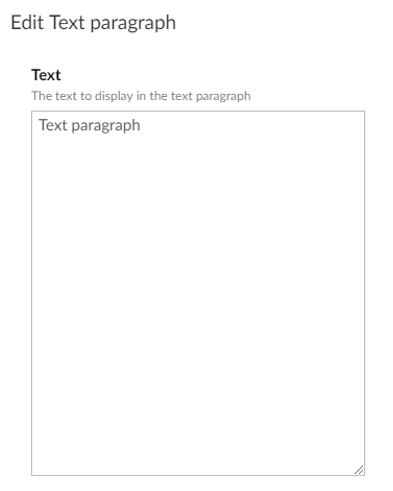
You will then be asked to choose a field type from the list. All field types that were available in the previous form builder are available here, but with the addition of two new ones. ‘Image’ allows you to upload an image to be displayed within your form, and ‘Text paragraph’ allows you to enter text to be displayed in the form.
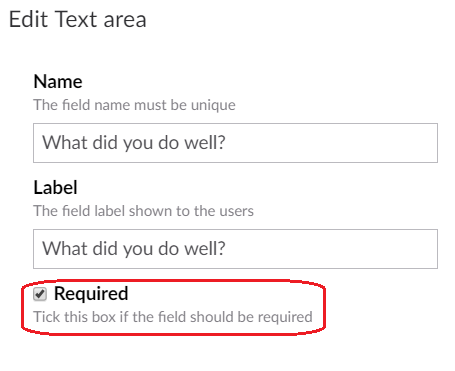
Each field requires a ‘Name’ and a ‘Label’. The ‘Name’ is what is displayed in the admin view, whereas the ‘Label’ is what is shown to users in the front-end.
We recommend entering the same text in both, so if you are asking the user “What did you do well?” you could type this into the ‘Name’ field and then copy and paste it into ‘Label’. However, one thing to bear in mind is that the ‘Name’ field must be unique, and what this means is that you cannot have two fields in the same form activity with the same name. They can have the same label (what’s shown in the front-end) but cannot have the same name (what’s shown in the back-end). So, if you’re wanting to have multiple fields in the same form called “Additional comments”, then you can type this for the ‘Label’ of each but in the ‘Name’ box you could put “Additional comments 1” for one of them and then “Additional comments 2” for the next, and so on, as these numbers wouldn’t be visible to users who are completing the form.
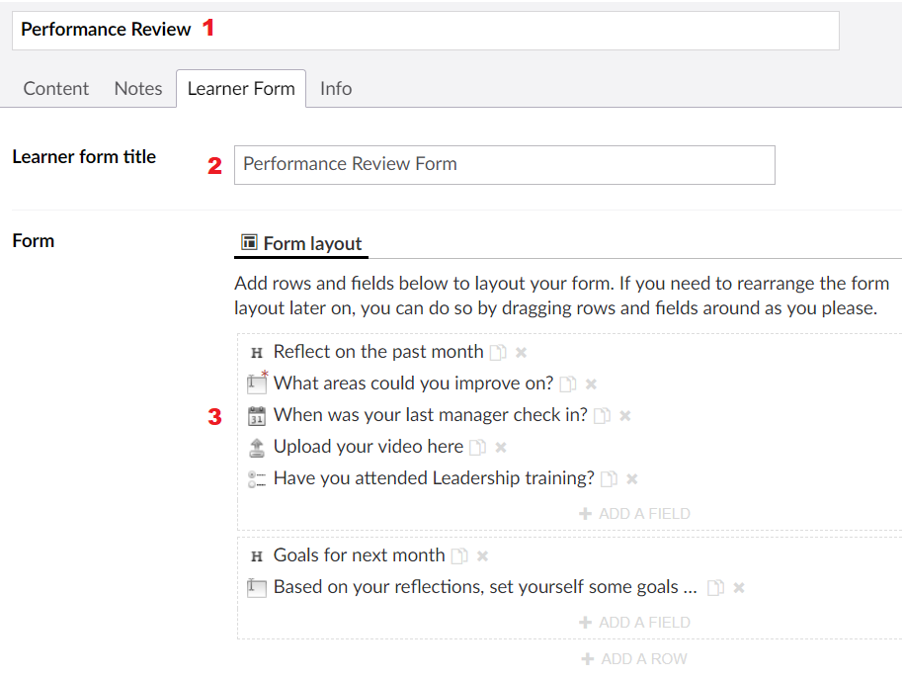
Back-end view – ‘Name’ field visible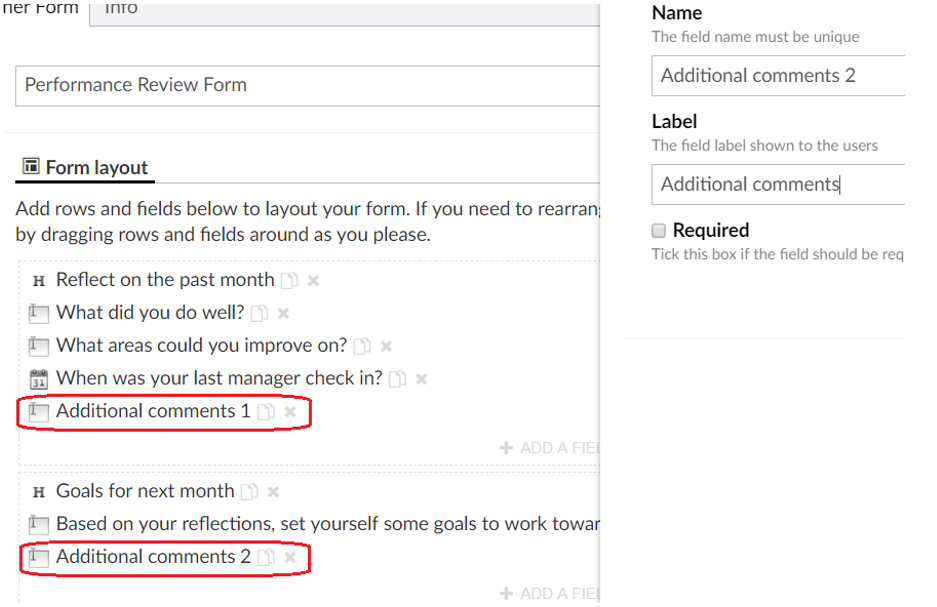
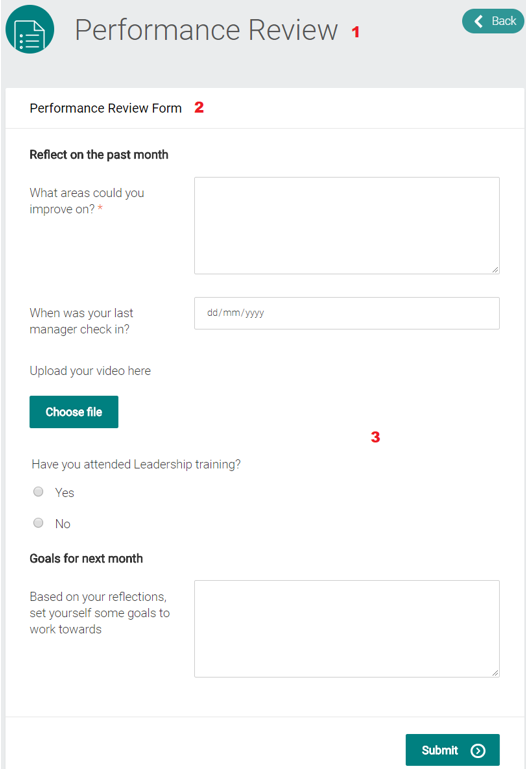
Front-end view - ‘Label’ field is displayed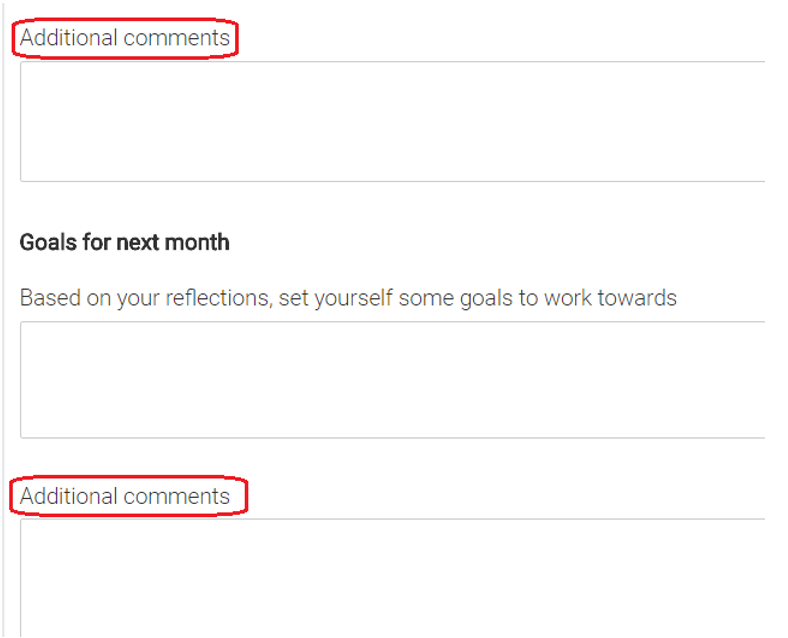
The screenshots below show how forms will look in the back-end (from an admin’s perspective when creating the form) and then the front-end (from a participant’s perspective when filling out the form). The name of the activity is at the top (1), then the title of the form (2), and then the form fields (3).
The form field types in this example are (in order): Heading, Text Area (mandatory), Date Picker, File Upload, Radio Buttons, Heading, Text Area.
As explained previously, the text for each field in the back-end is the field ‘Name’, whereas the text displayed for each in the front-end is the field ‘Label’.
There is also a ‘Required’ checkbox to be ticked if it’s mandatory for the learner to answer the question before they can submit the form. This ensures that no questions are left blank, which may or may not be desired depending on the type of form it is. There might be some questions in a form that are mandatory, and some that are not. For example, in an evaluation form you might make all quantitative items mandatory and then the ‘Any further comments?’ text box at the end optional.
When creating a ’Heading’, ‘Image’ or ‘Text paragraph’ field, these will have different settings to complete because they do not require input from the learner, they are simply text and images that are displayed on the form.
Benefits of the New Form Builder
- Improved performance when:
- Creating new forms and modifying existing forms
- Copying content (sections, steps and activities)
- Sending and retrieving forms to and from the repository
- Consistency with the other activity types
- All content created from the same place in the ‘Content’ page, rather than being created externally through the ‘Forms’ page
- More intuitive - makes it easier for new admins to learn how to build form activities
- Open source – we have more control over modifications
- E.g. the ability to hide buttons from the back-end that cannot be supported in front-end, which reduces admin confusion
- Two additional form field types – Image & Text Paragraph
- "Two-Part Form" as a separate activity type - more intuitive than being an additional page on a learner form
Comments
0 comments
Please sign in to leave a comment.