
From discussions with existing and potential clients it became obvious that On.Board could benefit from a feature that allows automated addition of activities into users’ timelines once they meet a specific requirement. In order to achieve this, it was decided to build a new piece of functionality, called ‘Workflows’.
Workflows Explained
‘Workflows’ are rules that can be set up on a per-program basis. In order to create a new rule (i.e. workflow), at least 3 elements are needed:
- The ‘trigger’
- What is the ‘event’ you want to incite an action (e.g. when an activity is completed)
- The ‘time variable’
- The duration after the ‘event’ that you wish the action to take place. This can be in days and/or hours.
- The ‘action’
- What action you wish to take place (e.g. add a refresher activity to the participant’s program)
‘Workflows’ functionality is flexible. Additional triggers, actions and variables will be added in the future. It was decided, however, to use ‘Refresher activities’ as the first use-case for the functionality. Using the initial set of triggers, time variables and actions, administrators will be able to build workflows that allow participants to receive new activity in their timeline, once they activate the selected trigger. These activities can be used as ‘refreshers’ (e.g. be added after a certain period of time to a completed program) or as ‘additional / timed learning materials’ (e.g. new activity is only added to participant’s timeline once they successfully complete a different activity).
Setting and changing workflows only affects users in the selected program.
Is Setting up Workflows Mandatory?
No. All programs will continue to function as expected without workflows. Workflow rules can be added to enhance user experience, however, there will be many programs that do not require any automation. There is no limit to how many workflow rules each program can have, however it is advised not to create more than 10 rules in a program, since this could lead to confusion among participants. Having too many rules (e.g. more than 10) will also increase the difficulty of program management for administrators.
Who Can Create and View Workflows?
There is a specific ‘Manage workflows’ admin capability in the platform, allowing selected administrators to manage these. Only administrators with the ‘Can manage the Program’s workflows’ capability are able to view, create and edit workflow rules:
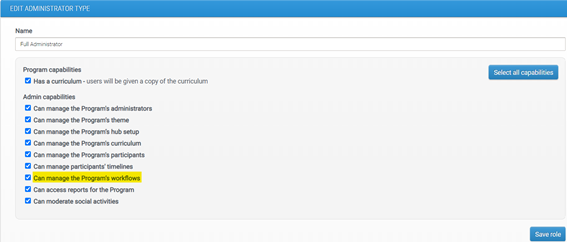
This minimizes the risk of workflows being created and changed by accident.
Creating Workflow-enabled Activities in the CMS
In order to differentiate between regular activities that are added to users’ timelines when they are enrolled and activities that will be added via Workflow a new mini-icon was added to the CMS tree:
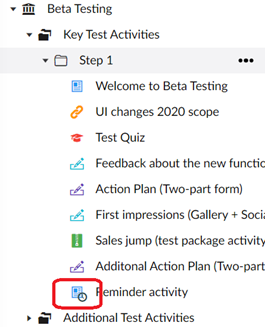
The clock icon will be displayed on activities that can only be added via Workflow (i.e. are not added to users’ timelines by default).
Any type of activity and any specific activity can be configured to appear via workflow rules. This can be configured by toggling the ‘To be published via workflow only’ button in the content tab of the CMS:
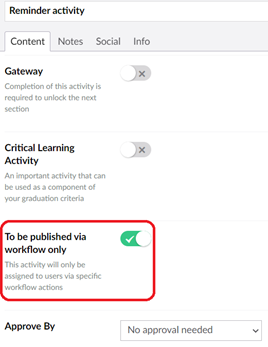
Once the activity is configured to be published via workflow only, its icon in the CMS tree will have a clock symbol. This activity will therefore not appear in new users’ timelines when they are added.
If all activities in a given section are configured to be published via workflow only, then the whole section will not be displayed to users by default.
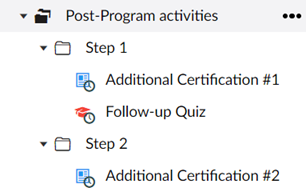
The section will only appear in users’ timelines once one of the activities is pushed to them via a workflow rule.
Setting up New Workflow Rules
You can watch a short video showing how to set up workflows or follow the instructions in this document:
Please note that you will need to have some workflow-enabled activities in the CMS before you start creating workflow rules (see above).
Also remember that the ‘Manage workflows’ page is only visible to administrators with the ‘can manage workflows’ capability.
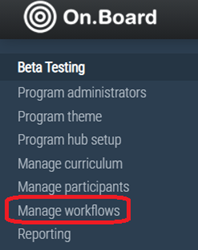
To access the workflow setup page, you will need to click on the ‘Manage workflows’ button in the toolbar:
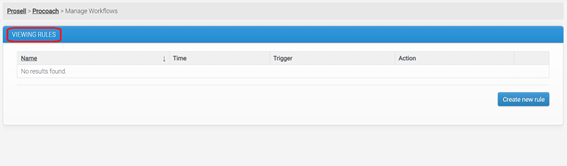
Once you click on this button, you will be taken to the workflow management page. If you have not created any rules yet, this page will be empty:
If you are ready to build your first workflow rule, simply click on the ‘Create new rule’ button in the right corner:
Clicking this button will open up a new page:
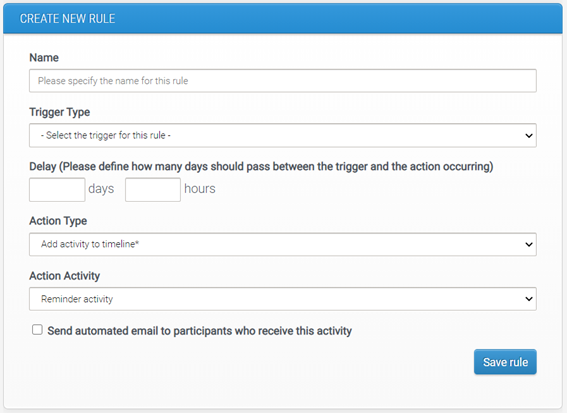
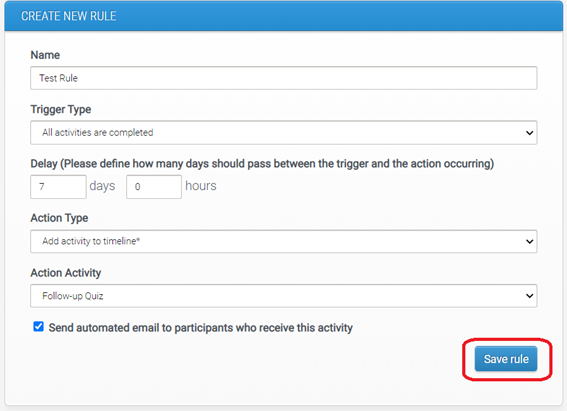
There are four mandatory fields on this page:
1. Name field
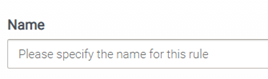
Every rule needs a name. This is just for the convenience of administrators, as rule names are not displayed to participants. For clarity, it is beneficial to give rules descriptive names (e.g. “Add a refresher quiz 2 weeks after program completion”).
2. Trigger type
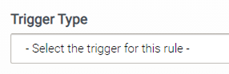
Every rule requires a trigger (i.e. the ‘event’ that will incite an action). There are currently two types of triggers:

If you select the ‘All activities are completed’ trigger type, then action will only occur in the event of participant completing all of their current activities. Please note that activities that require approval only count as completed once they are approved.
If you select the ‘A specific activity is completed’ trigger type, then you will get an additional dropdown, asking you to select which activity needs to be completed in order to incite the action:
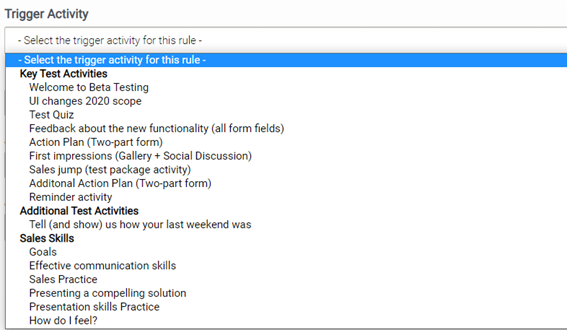
The dropdown will display all activities currently available in the CMS. You will need to select one of the activities from the dropdown.
3. Delay

When creating a workflow rule, you will need to specify the duration after the ‘trigger event’ that you wish the action to take place. This can be in days and/or hours. If you want the action to take place immediately after the trigger event occurs, simply select ‘0’ in the delay field. Please note that automated actions often take 20-30 seconds to take place, so your participants might need to refresh their page before they see their new activity.
4. Action type
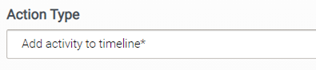
The only available action type at the moment is ‘Add activity to timeline’ – this will be preselected for you. Under the action type you will see another dropdown:
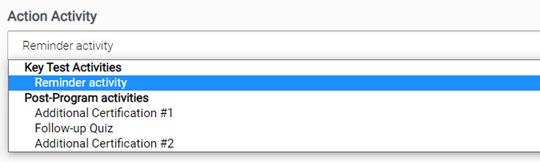
The ‘Action Activity’ dropdown will display all activities that are marked as ‘To be added via workflow only’ in the CMS for this program. If this dropdown is empty, please check the CMS and ensure that activities are configured correctly there.
You will need to select one of the activities from the list – this is the activity that will appear in users’ timelines once they meet the criteria for the rule (i.e. complete their trigger action and wait for the selected delay to pass).
Email notifications
Finally, for the ‘Add activity to timeline’ action type you will also get the option to send automated email to participants who receive this activity:

If this checkbox is ticked, then all participants who receive activity via workflow will get an email containing a link to their new activity. Please note that the email is sent only when the activity is added to participant’s timeline.
You can adjust this email template in the hub setup area.

For more details on how to edit email templates in your program, click here.
Save rule
You will only be able to save your rule once you have completed all mandatory fields on the page. To save the rule, simply click on ‘Save rule’ button in the bottom right corner:
Editing Workflow Rules
All workflow rules that are active will appear on the ‘Manage workflows’ page:
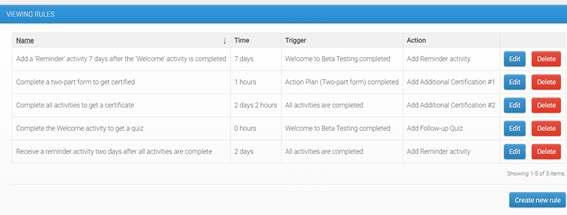
Any rule can be edited or removed. Note that editing or deleting rules will take effect straight away – there is no need to reset participants’ progress.
If you want to make changes to one of your rules, click on the ‘Edit’ button next to the rule that you want to adjust:

When you click on the ‘Edit’ button, you will be taken to a page that is identical to the ‘Create new rule’ page, with the only difference being that all fields are pre-populated with your previously selected settings:
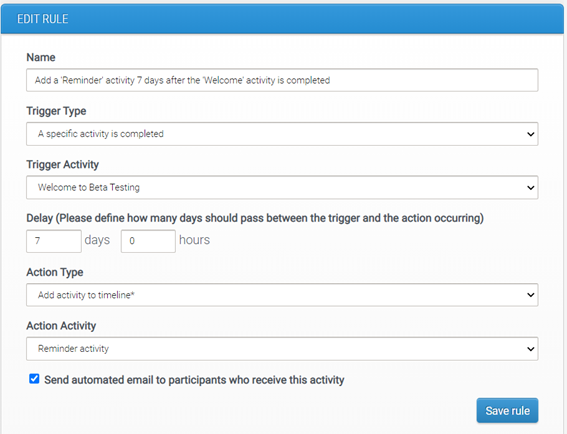
Once you’ve made the required changes, click the ‘Save rule’ button. You will see the updated settings in the workflow rule overview page.
Please let us know if you have any feedback or questions!
Comments
0 comments
Please sign in to leave a comment.