
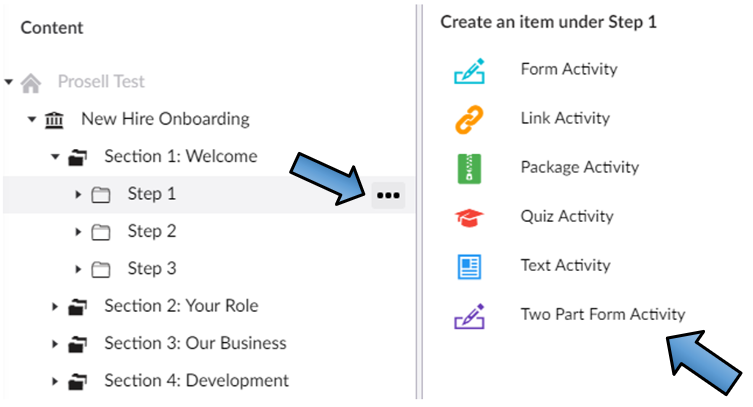
Creating an activity
As you may already be aware, activities are created within steps (that are within the sections of the curriculum). Once an activity type is chosen, its content fields then need to be defined. If you are unsure of the activity type at this stage, then select the 'Text activity' as it can be changed at a later date.
Activity content fields
There are a set of common properties for each activity you create, regardless of its type.
NAME
Once you have selected an activity type to create, the first thing you are required to do is give it a name. This field appears at the top of the page. Once it is named, you can save the activity and complete the other fields at a later date (unless it's a FORM or QUIZ activity, which have a few other mandatory fields).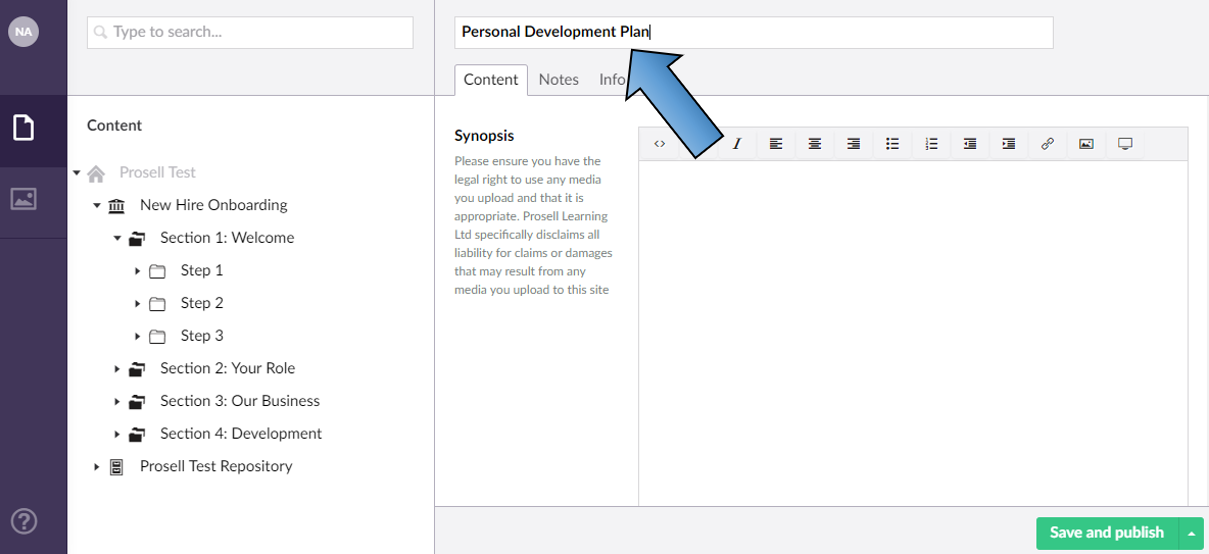
SYNOPSIS
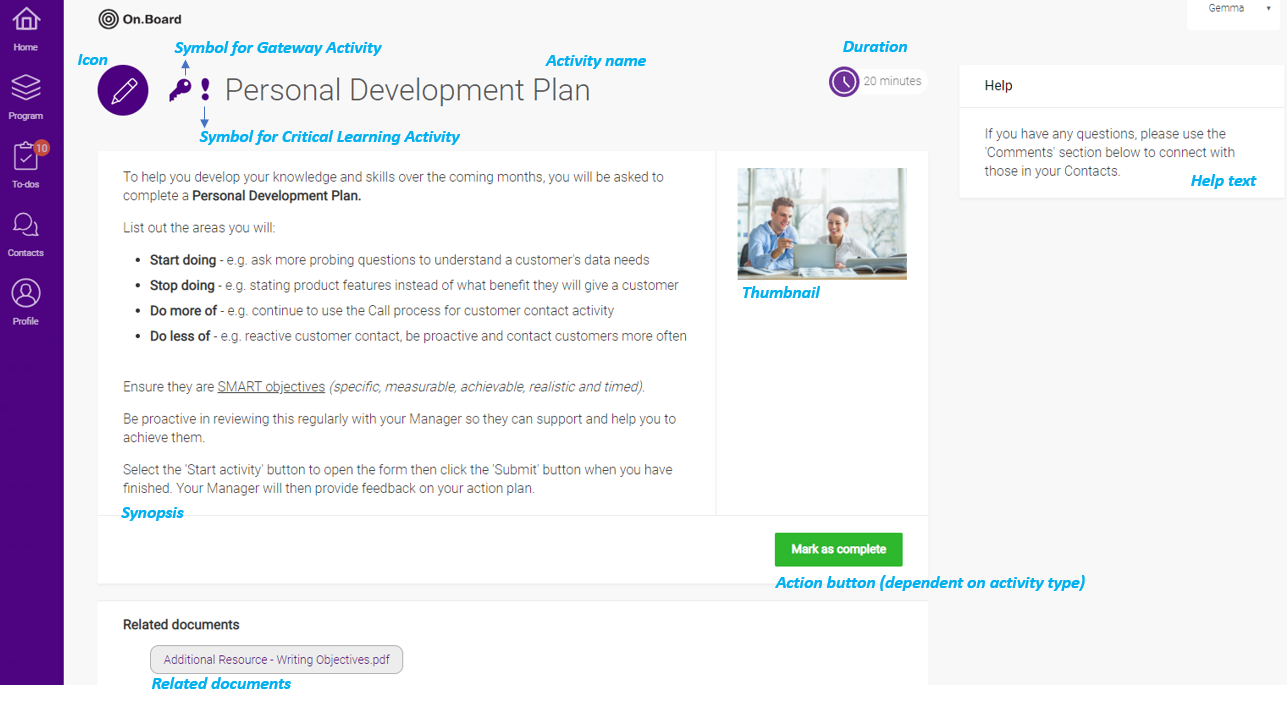
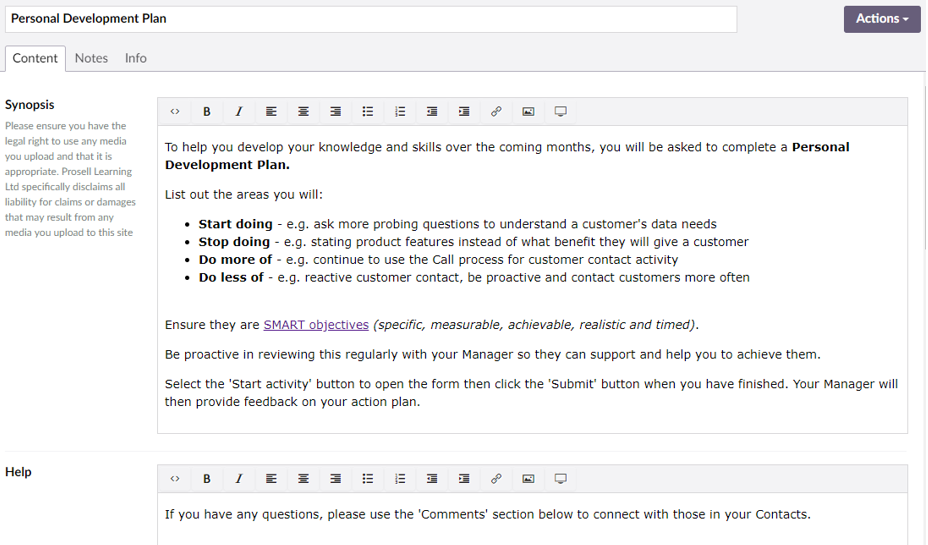
The next field is the synopsis, which is a description/overview that will be seen by users upon opening the activity. Its purpose is to explain to the learner what the activity involves and what is required for completion.
The toolbar along the top of the synopsis can be used to enhance the appearance of the text in the synopsis and add in other assets including images, videos and links. Click here for more information on this.
HELP TEXT
The help text area can be used to insert a useful tip or some further direction on how to complete the activity. You could invite them to leave questions in the comments section at the bottom of the page or to use their contacts page to reach out to those in their performance hub. This text will appear beside the synopsis on the activity overview page.
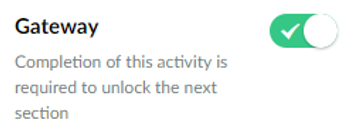
GATEWAY
If an activity is set to be a gateway, then it must be completed before the learner can move onto the next section. For example, if you have two activities in your first section that are gateways, then they both need to be completed by the learner to unlock the second section and complete the next set of activities.
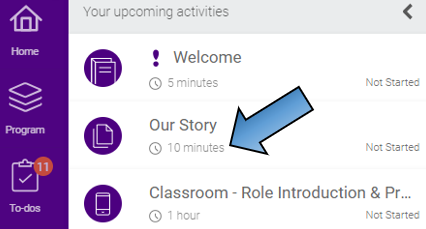
Learners will have visibility of this on their home page, to-dos and program page. There will be a small key icon in front of the activity name, which symbolizes that completion of the activity will unlock the padlock on the next section.
![]()
You can set an activity as a gateway by sliding on the toggle on in the 'Content' tab when creating or editing an activity.
If you decide to not have any gateways, the entire curriculum of your learners will be open and therefore they will be able to complete activities in any section if they choose to do so.
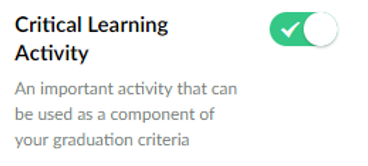
CRITICAL LEARNING ACTIVITY
If an activity is set to be a critical learning activity then it indicates importance to learners. This can also be set as the graduation criteria for a program (learner is automatically marked as graduated when they complete all critical learning activities). Click here for more information on graduation criteria.
Learners will have visibility of which activities are critical learning activities as there will be a small exclamation mark icon in front of the activity name on the home page, to-dos and program page.
![]()
This can be set for an activity by toggling 'on' the option in the 'Content' tab.
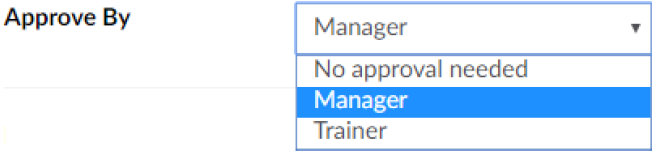
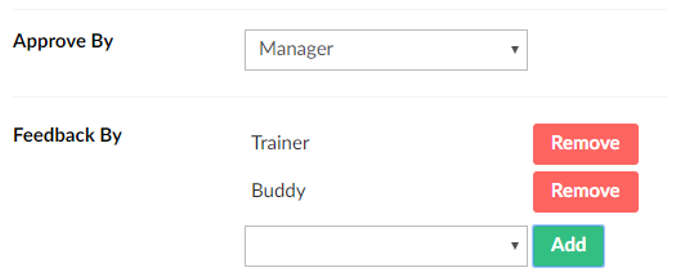
APPROVE BY
The approve by setting for an activity is a drop-down box containing all relationship types with the 'Approve' capability given. Only one of these can be selected as the approver for a given activity, and this determines who will be responsible for signing off and confirming completion.
So, to explain how this works in practice, once a learner has submitted an activity that requires approval, any of their hub members (contacts) who have the selected approver relationship type assigned to them will receive an email notification to review the activity and then approve or reject. Approving would result in the activity status becoming 'Finished' and rejecting would prompt the learner to have another go of the activity. If the activity is a two-part form, this approver will also be required to complete the second part of the form. Only one relationship type can be selected for the approver.
If an activity is both a gateway and requires approval, then the following section will not be unlocked until the activity has been completed and approved.
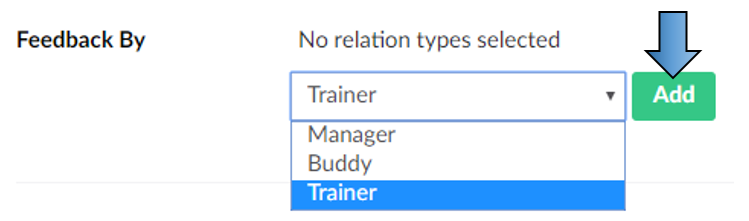
FEEDBACK BY
The feedback by setting for an activity is a drop-down box containing all relationship types with the 'Feedback' capability given. Multiple types can be selected for each activity, and you can make a selection by clicking on the green 'Add' button on the right of the drop-down.
Upon completion by the learner, any hub member who has the selected relationship types assigned with them will receive an email notification to review the activity and are encouraged to leave feedback in the comments section, although this is not mandatory.
There will be a link in the email they receive that takes these "feedbackers" to the learner's activity to review and then any feedback can be left in the ‘Comments’ section at the bottom of the page. Comments made will be highlighted to display their importance and indicate they were left by a "feedbacker".
'Feedback By' differs from the ‘Approve By’ field in that it has no effect on the completion status of the activity, it can be seen simply as a way of notifying other hub members that the activity has been completed and encouraging them to provide feedback. Whereas, when an activity requires approval the activity status is not marked as complete until it’s been approved.
Putting this to example, you could set the Manager relationship type to be the approver and then the Trainer for the feedbacker. In this scenario, upon completion of the activity by the learner, both their Manager and Trainer will receive an email notification. The difference being that the Manager would be asked to review and approve or reject (which determines the completion status of the activity and also the unlocking of the next section if it’s a gateway) whilst the Trainer will just be notified of the completion and invited to leave feedback.
SCORED
The scored toggle must be switched 'on' for quiz activities, and also package activities if they contain a scored quiz. The reason being so that the score obtained by learners gets tracked and displayed by On.Board.
For the other activity types (text, form, link), if you set them to be scored and to require approval, then a drop-down box containing a range of percentages will appear for the approver to select when they approve or reject.

When creating an activity, you will see a 'Scored' toggle beneath the approve by and feedback by drop-downs. Clicking the toggle will switch it on and off.

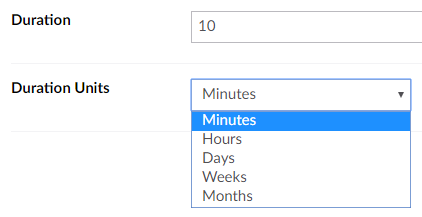
DURATION
The purpose of the duration field is to give learners an idea of how long it will take to complete the activity. This will assist them in planning ahead by looking at their program page and seeing an overview of the activities that are coming up and how much time should be set aside for each.
it also gives them an indication of the time they should be spending on it. For example, if a reflection form should take them 30 minutes approximately, then they should not be rushing their answers and submitting within 5 minutes. Of course, as administrators of the program, you must be realistic with expectations of the learner and take their other commitments into consideration.
As an administrator, the duration can be defined by entering the value in the 'Duration' field when creating an activity in your curriculum. You can then pick the units for the duration.
The duration of an activity will be visible to the learner in four places:
1. On the 'Home' page for activities due next (to-dos)
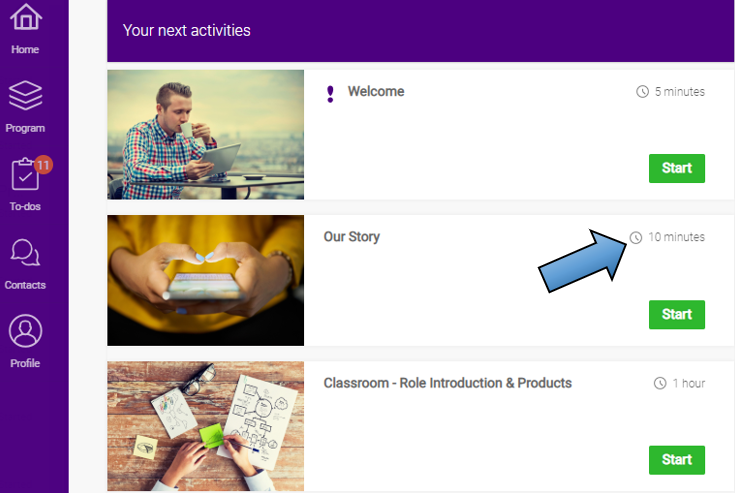
2. On the 'Program' page beside each activity
3. In the 'To-dos'
4. Within the overview page of an activity
There may be activities where it would not be suitable to add the duration, if it's difficult to determine the time that should be spent or if it will vary considerably between learners. In this case, you can leave the field blank to hide the duration on the activity.
THUMBNAIL
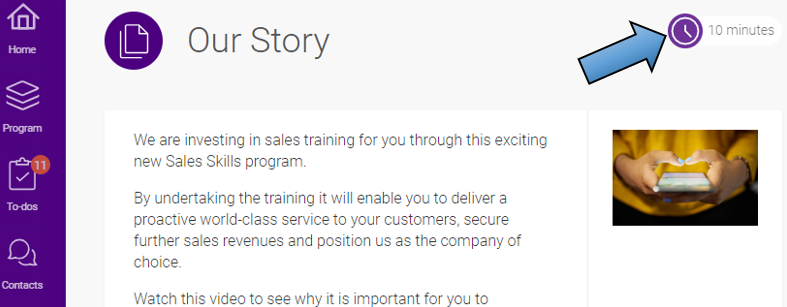
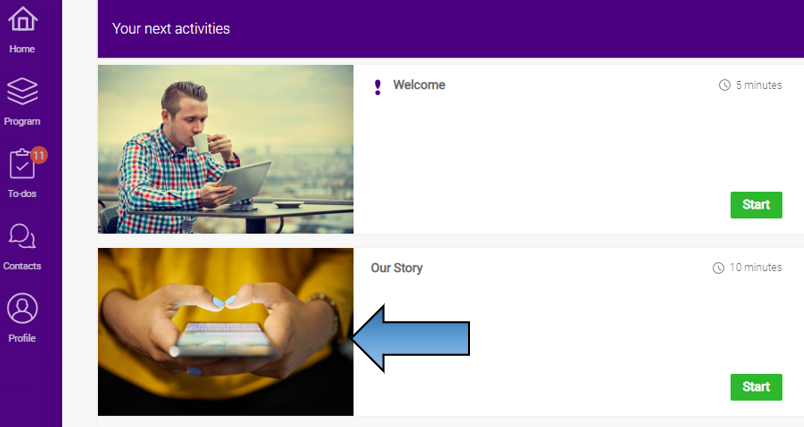
If you upload a thumbnail (image) for an activity, it will appear to a learner on their home page when the activity is due to be completed (in their 'to-dos).
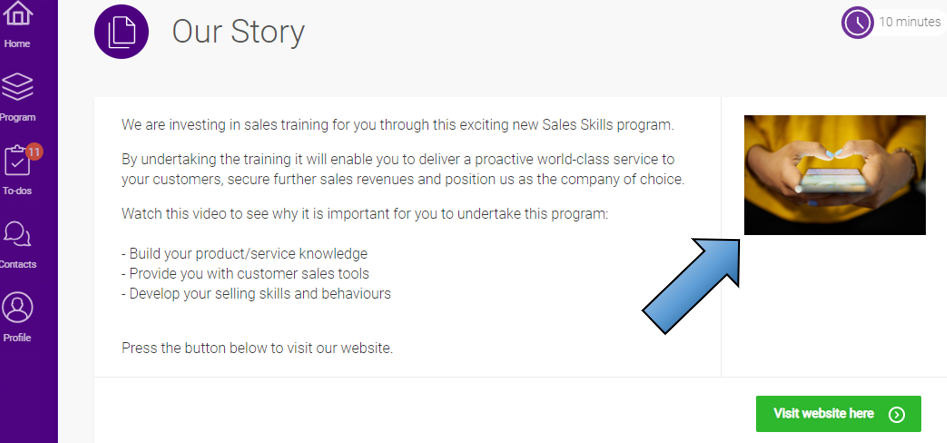
The image will also appear within the activity itself on the right-hand side of the synopsis.
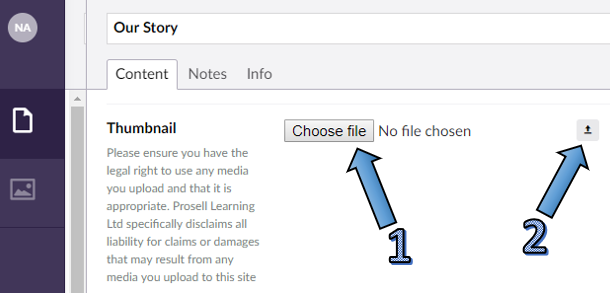
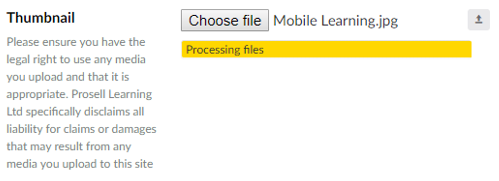
To add these images, within the activity builder select the 'Choose File' button beside the 'Thumbnail' field. Then click the upload button, which is a small upward facing arrow, and wait for your image to appear before saving the activity.
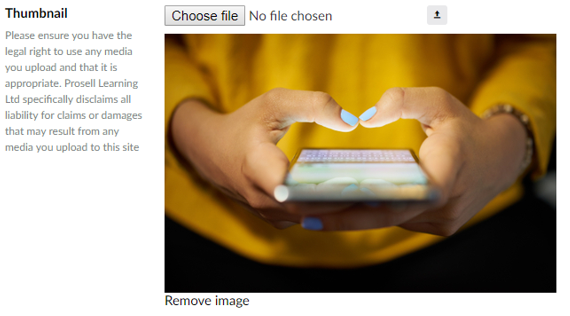
If you decide you no longer want this image, you can remove it by clicking the 'Remove image' link (just beneath the thumbnail in the above screenshot).
If an activity does not have a thumbnail, then on the 'Home' page the activity icon will appear instead.

However, when a user opens the activity, the space that the thumbnail would have been positioned within is filled with the synopsis text.

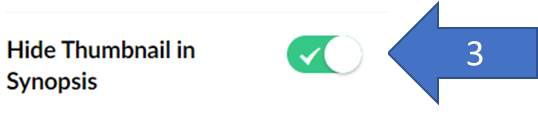
HIDING THUMBNAIL IN SYNOPSIS
There is now an option to only display a thumbnail (image) on the home page, without taking up any space on the synopsis page.

As you can see above, thumbnail for ‘Our Story’ is visible on the home page, however, in the screenshot below the space that the thumbnail would normally have been positioned within is filled with the synopsis text, therefore providing more space for inserting graphics, text and embedding content.

To hide thumbnail image from the synopsis page, select your thumbnail image, as you would normally do in the CMS.
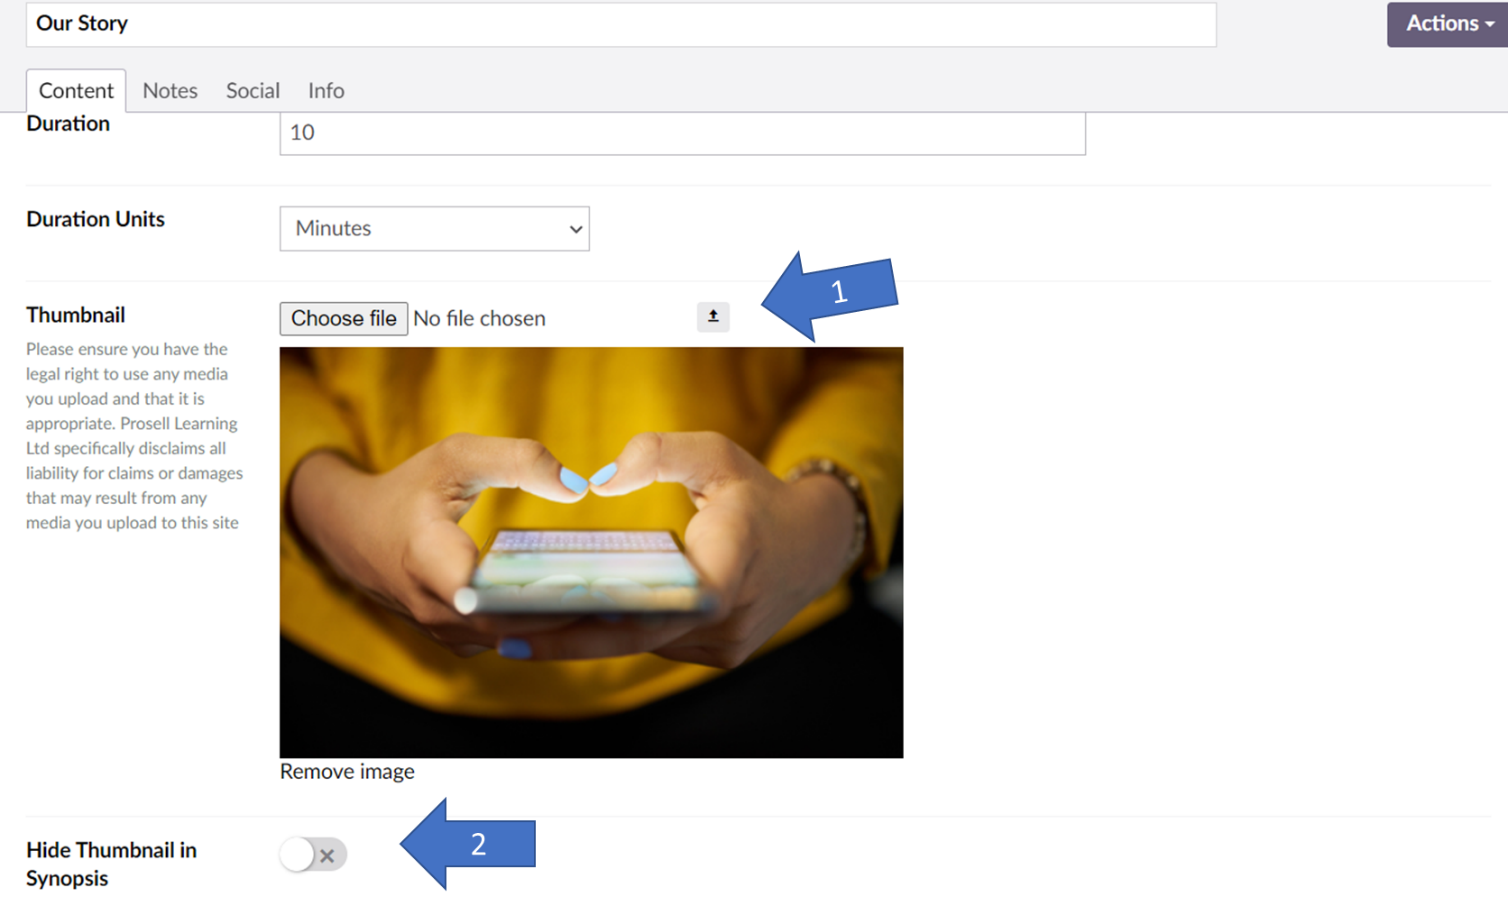
Then toggle the ‘Hide Thumbnail in Synopsis’ switch.
If you make this change in the CMS, currently enrolled users will not be automatically affected. In order to push this change to your existing users, you can either reset their timelines or update their timeline if you don’t want to affect their current progress.
Please refer to this HELP article if you want to see how to update your learners timelines.
If you want to see how to reset their timeline, please follow this link.
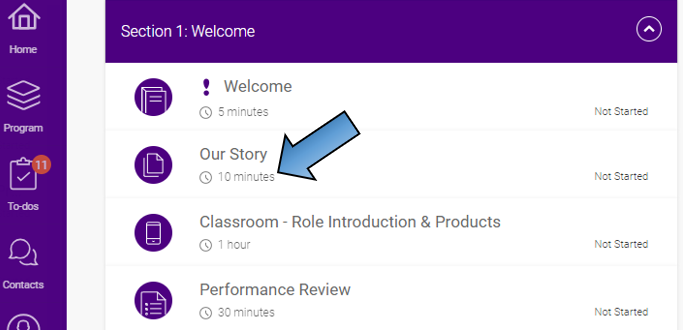
ICON
Each activity has an icon to give the learner an indication of the type of activity it is.
An activity's icon is displayed beside each activity name in the to-dos and program page.![]()
![]()
It will also appear on the home page beside an activity if a thumbnail has not been given.![]()
When creating an activity, there will be a drop-down field for the icon.
![]()
You can check which labels correspond to which icon image, as well as change these labels, through 'Manage theme > Manage activity icons'. Click here for more information on this.
RELATED DOCUMENTS
You can attach files to an activity and these will appear just underneath the synopsis in an area titled related documents. Most file types can be uploaded here including PDFs, Word Documents, PowerPoint Presentations and videos.
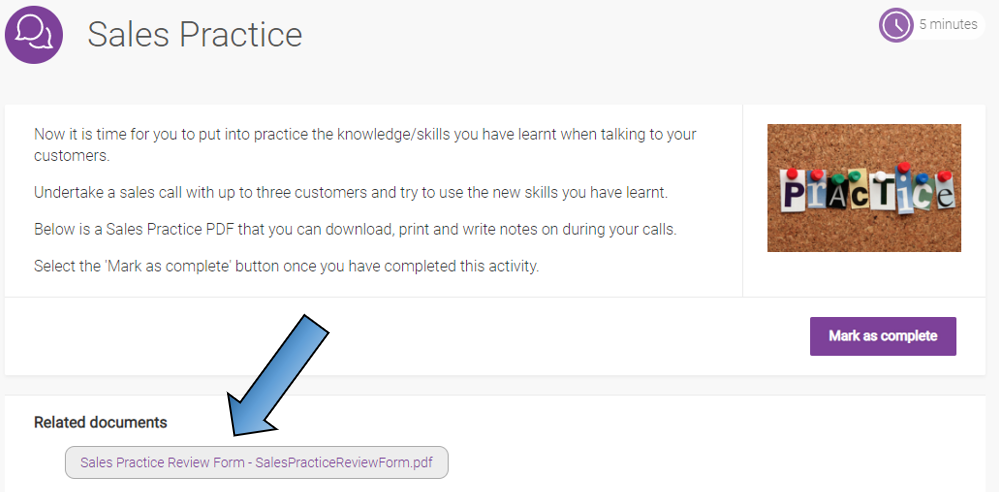
When creating (or editing) an activity, you can find the related documents section by scrolling to the bottom of the activity content fields.
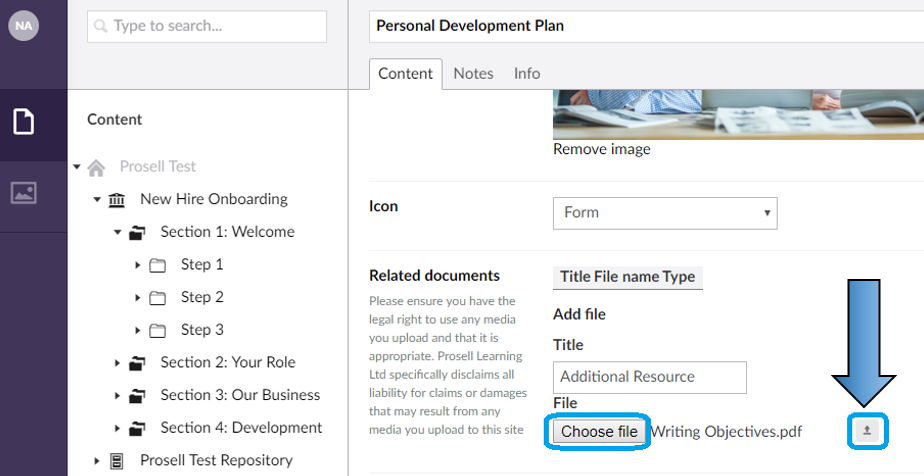
Select 'Choose file' and locate the relevant file from your documents. Then, to upload it click the small upward facing arrow to the right.
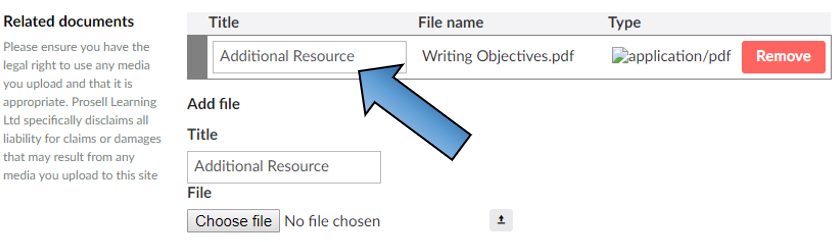
Give this file a name within the 'Title' field - this will appear on the activity page before the actual file name. If you leave this title field blank it will automatically duplicate the file name.
Asset Reference Numbers
There will now be an ‘Asset Reference Number’ field in the CMS. This field is optional and could be used in any activity. The field sits at the bottom of the ‘Content’ tab:
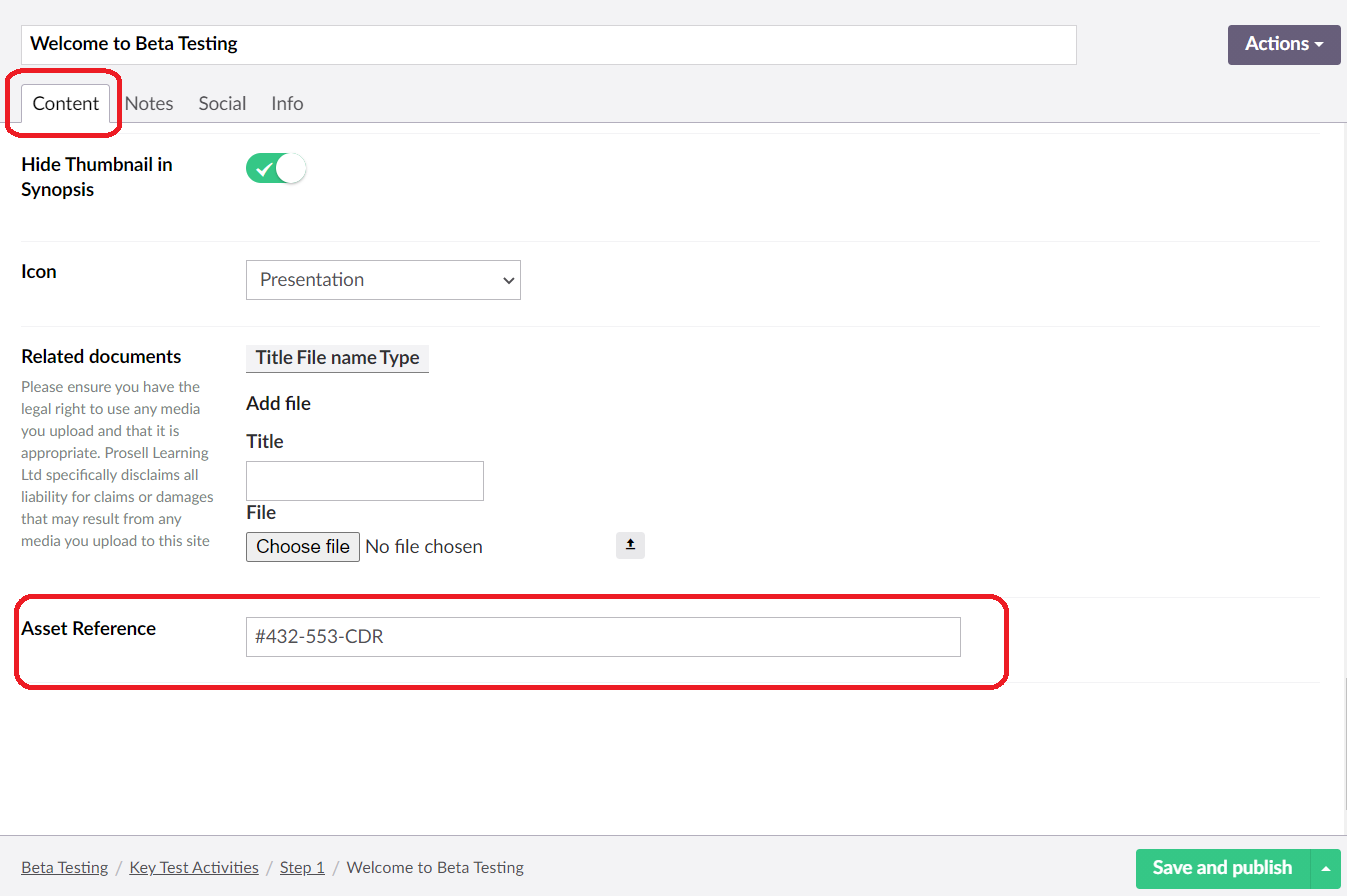
The Asset Reference Number field is a single line free-form field without a set character limit. This, in theory, allows for more than one asset number to be entered, however, this would need to be managed carefully on the client side.
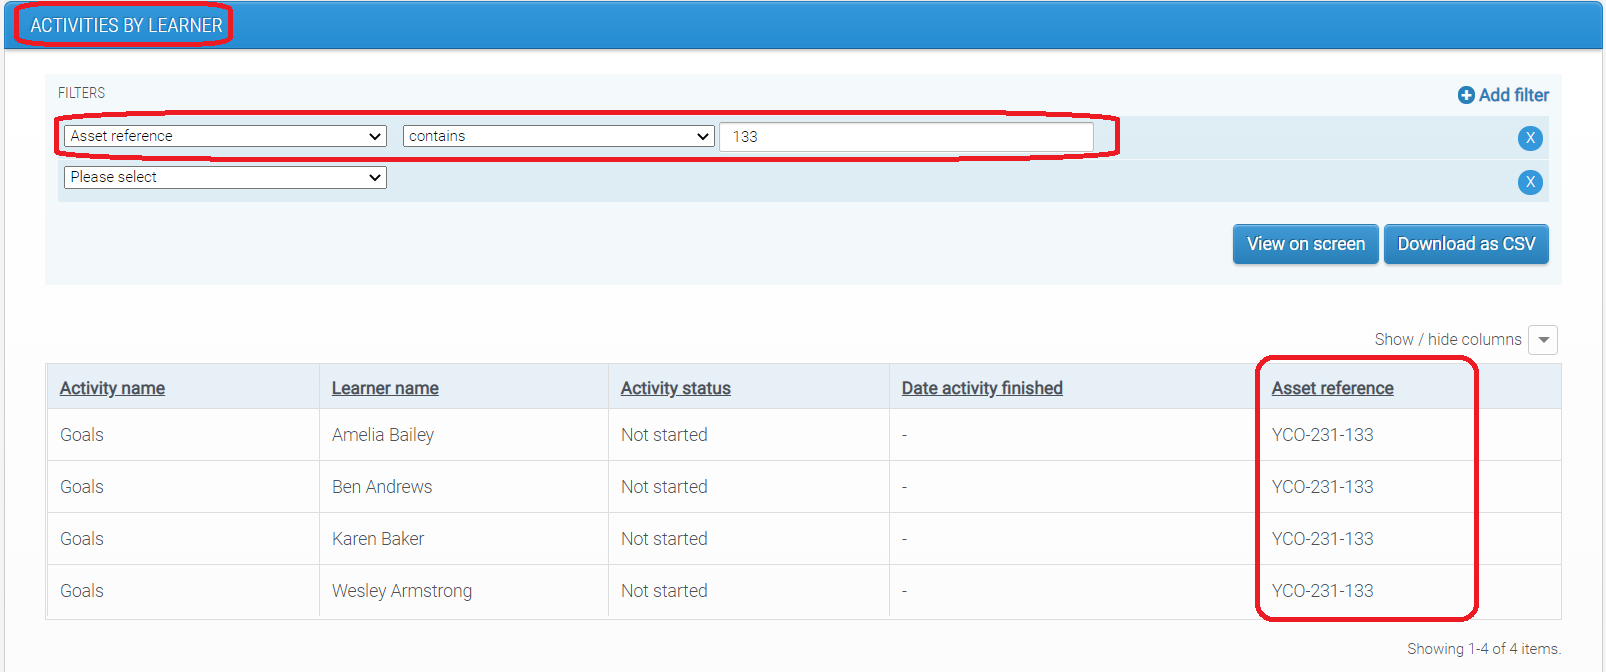
The Asset Reference Number is not visible to participants. Instead, it will appear in ‘Activities by learner’ and ‘Activity overview’ reports.
New column in ‘Activities by learner’ report will allow administrators to track asset completions by individuals. Administrators will be able to filter by participant’s name or by asset number to check completions.
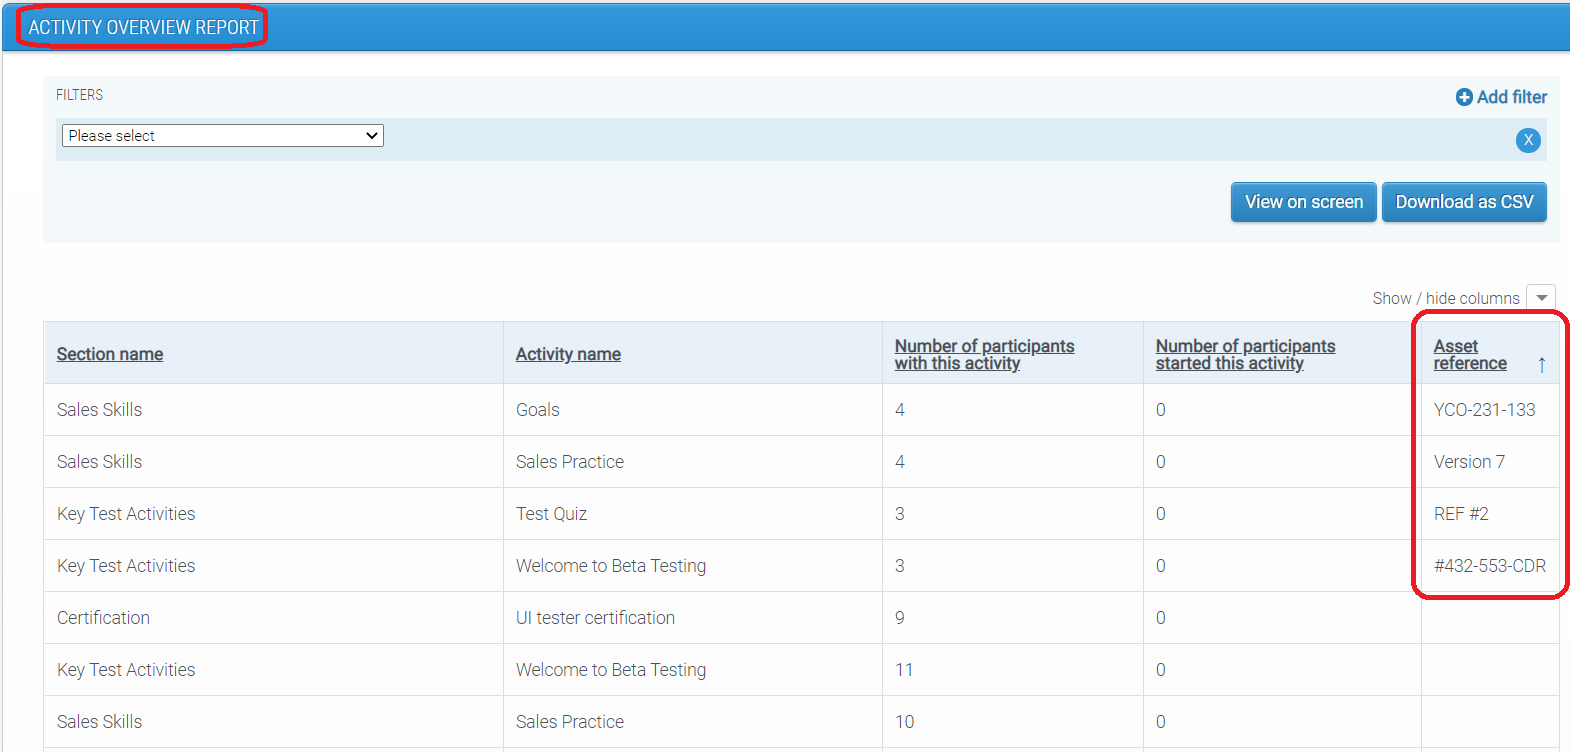
New column in ‘Activity Overview’ report will allow administrators to track which asset reference numbers are present in which activity and in which program.
Asset Reference Numbers will also appear in data extracts.
How are Asset Reference Numbers affected by timeline changes?
Activities are allocated an Asset Reference Number when they are added to the timeline.
If the timeline is reset, the new version of the activity will have the Asset Reference Number that was specified in the CMS at the point when the activity was pushed to the user’s timeline.
If activity details are updated for an activity that has an Asset Reference Number, then the Asset Reference Number will be updated too, unless user has already completed the activity, in which case Asset Reference Number will remain the same.
Is the Use of Asset Reference Numbers Mandatory?
No. There is no need for administrators to use this field unless they want to have an additional reference number for their activities.
Comments
0 comments
Please sign in to leave a comment.